How to install TypeIt4Me
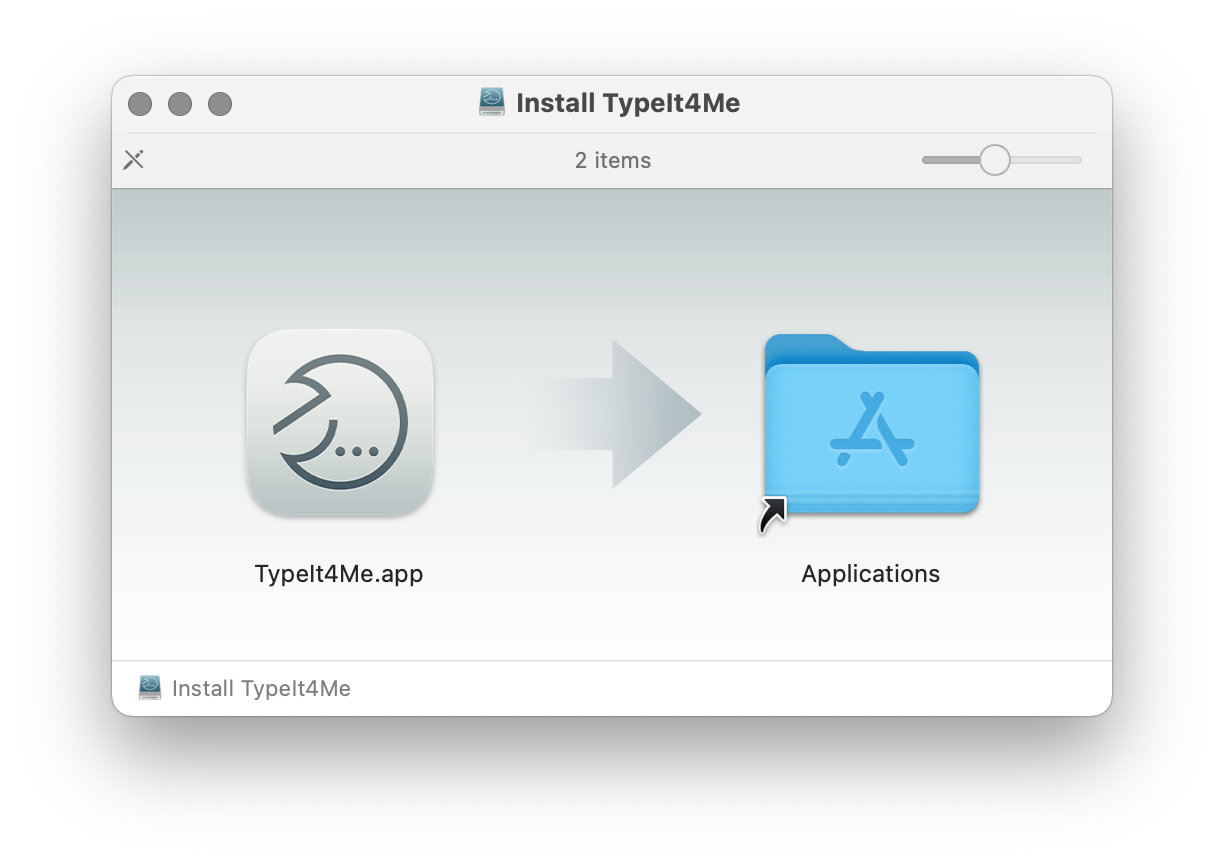
When the download is complete you should see a file named “TypeIt4MeInstaller.dmg” in your Downloads folder (or if not there, wherever your browser normally saves files to.) Double-click the downloaded DMG to open the installer. Read and agree to the End User Licence Agreement (EULA). When the window pictured here opens, drag the TypeIt4Me icon across to the Applications folder alias to install the app. Then unmount (eject) the DMG, go to your Applications folder and launch TypeIt4Me from there.

How to authorize TypeIt4Me to expand your typed abbreviations for you
When you first launch TypeIt4Me it will ask you for permission to control your computer using accessibility services. This is required so that it can expand your abbreviations when you type them. Follow these steps to ensure that TypeIt4Me has the permission it needs to do its job.
On macOS 14 (Sonoma) and macOS 13 (Ventura):
1: Open System Settings
2: Click Privacy & Security
3: On the right, scroll down and click on Accessibility
4: On the Accessibility screen, underneath the heading that says “Allow the apps below to control your computer”, locate TypeIt4Me in the list and make sure its toggle is switched on.

On macOS 12 and older systems:
1: Open System Preferences
2: Click Security & Privacy
3: Click on the Privacy tab
4: Click on the Accessibility section in the column on the left
5: Click the padlock button in the bottom left-hand corner and enter your administrator password if required
6: Over on the right where it says “Allow the apps below to control your computer”, locate TypeIt4Me in the list and make sure its checkbox is ticked.